
How to Turn a Photo into a Pencil Sketch in Photoshop
Published September 18, 2026
Turn a photo into a pencil sketch in Photoshop by combining a desaturated layer with an inverted copy, Color Dodge, and Gaussian Blur. This guide explains the layer order, contrast adjustments, and common mistakes so you can control the result instead of relying on a single preset.
This is a reference-based guide for Adobe Photoshop on desktop, not Photoshop Express or a mobile walkthrough. Menu wording may vary. The method uses standard editing tools, not generative AI.
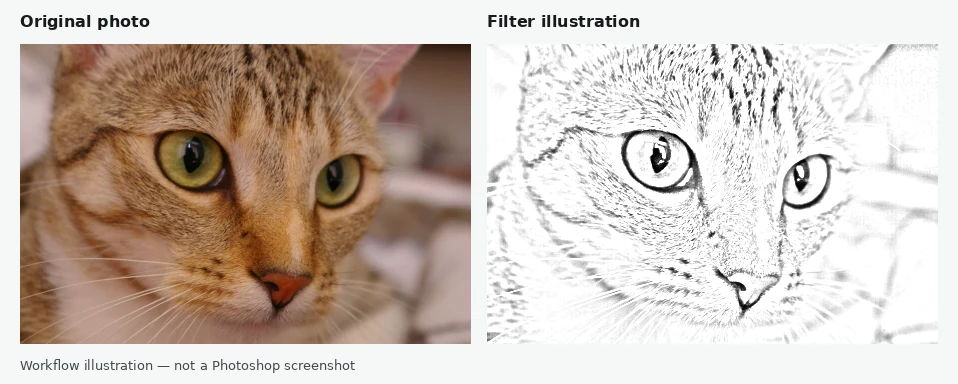
Before You Start
Use a photo you own or have permission to edit. A clearly lit face, pet, or still life gives you recognizable features to judge. Avoid starting with a tiny screenshot or a heavily blurred image.
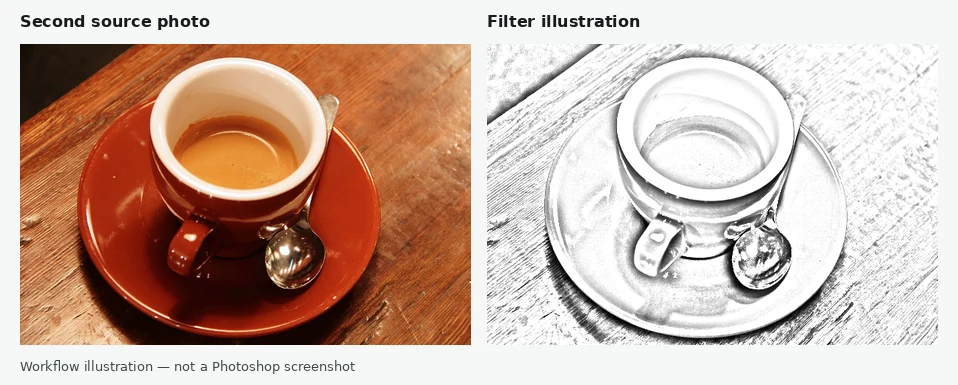
You need Photoshop access, your source photo, and a place to save a layered file. For these practice images, work in RGB Color and 8 Bits/Channel under Image > Mode. No additional action pack is required. The cat practice photo and coffee practice photo are included at their original sizes for learning, not as high-resolution print assets.
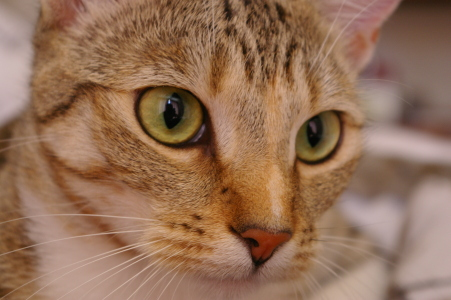
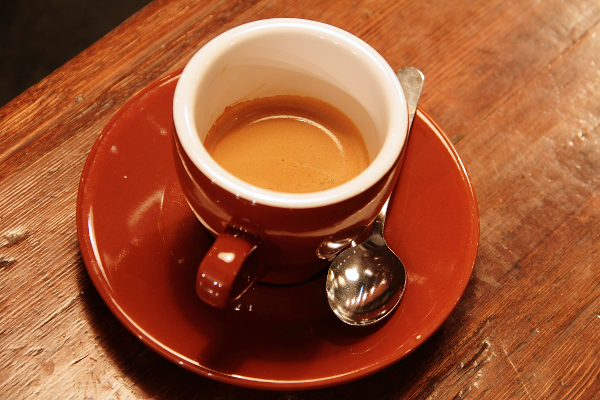
The Photoshop Pencil Sketch Workflow
Open and Duplicate Your Photo
Choose File > Open, select your image, and open Window > Layers. Duplicate the photo layer with Ctrl+J on Windows or Command+J on Mac with no active selection. Rename the copy Grayscale base.
Keep the original layer underneath. This protects your source while you experiment; avoid saving over your original photograph.
Remove Color from the Working Copy
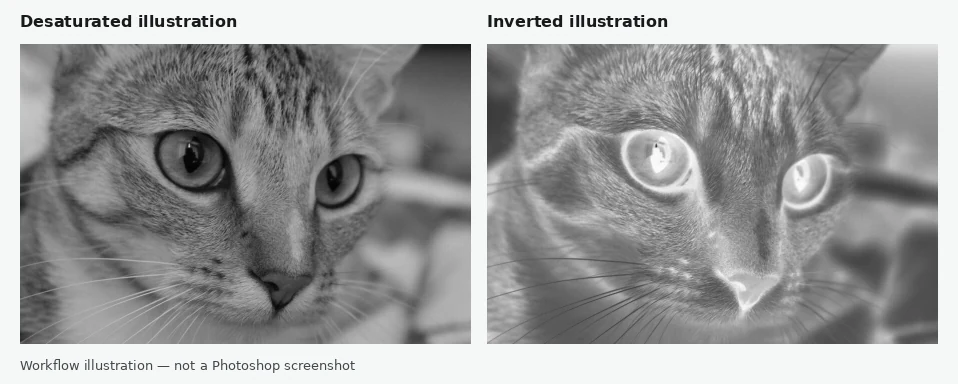
Select Grayscale base, then choose Image > Adjustments > Desaturate. The working copy becomes monochrome while retaining its shapes and tonal information.
Desaturate edits the selected layer directly. That is why we work on a duplicate; it is not the same as adding a reversible adjustment layer. At this point, you should still see a photograph, not a finished drawing. [1]
Duplicate, Invert, and Prepare for Smart Filters
Duplicate Grayscale base and name the new top layer Sketch detail. With that layer selected, choose Image > Adjustments > Invert. Light areas become dark and dark areas become light.
Next, choose Filter > Convert for Smart Filters and confirm. Photoshop converts this working layer into a Smart Object so the upcoming blur can be adjusted later. Keep Grayscale base visible underneath. [2]
Set the Upper Layer to Color Dodge
Select Sketch detail and change its layer blending mode from Normal to Color Dodge in the Layers panel. Leave its opacity and fill at full strength initially.
The image may become almost white. This is expected when the inverted layer closely cancels the underlying tones; the next step creates useful differences. Do not delete the lower layer or substitute the separate Color blend mode. [3]
Apply Gaussian Blur to Reveal the Sketch
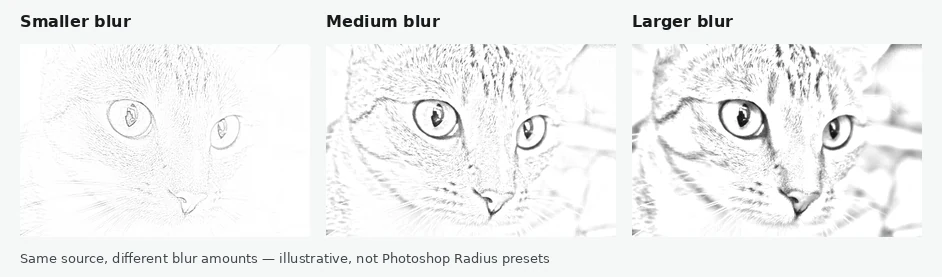
With Sketch detail selected, choose Filter > Blur > Gaussian Blur. Enable Preview, then adjust Radius gradually while watching important edges.
Compare the eyes, whiskers, or object boundaries rather than looking only at the background. A useful value depends on your image dimensions and detail: a setting that works on a small practice photo may look different on a large original.
Blur only the inverted upper layer. Stop when the subject reads clearly, then confirm. To revise the effect, double-click Gaussian Blur beneath the Smart Object. [2] [4]
Adjust the Pencil Contrast with Levels
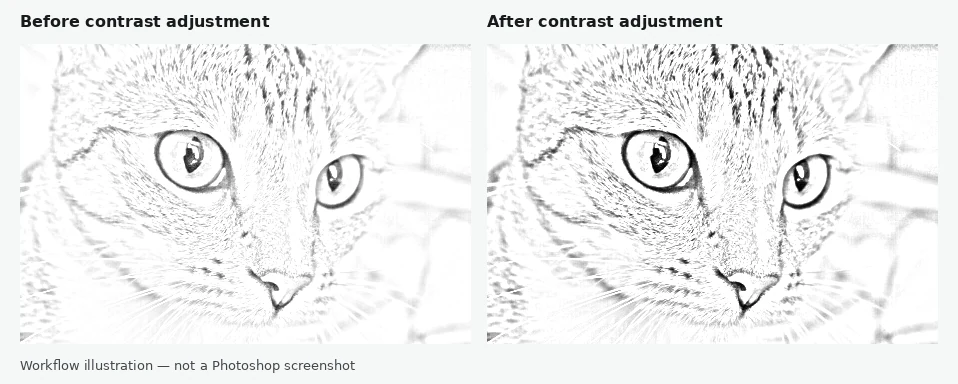
Select the top working layer and choose Layer > New Adjustment Layer > Levels. Name it Sketch contrast, leave its blending mode at Normal, and keep it above Sketch detail. Leave Use Previous Layer to Create Clipping Mask unchecked.
In Properties, move the black input point inward slightly to strengthen darker marks. Adjust the middle input control to balance midtones. Watch for blocked-up eyes or missing whiskers: stronger contrast is not automatically better.
Using an adjustment layer lets you revisit the settings without repeatedly changing the image pixels. [5]
Check Your Layer Order
Read this reference from top to bottom. It describes the document structure, not the appearance of a particular Photoshop interface.
| Layer | Purpose |
|---|---|
| Sketch contrast | Levels adjustment; Normal blend mode |
| Sketch detail | Inverted Smart Object; Color Dodge; Gaussian Blur |
| Grayscale base | Visible desaturated copy |
| Original photo | Untouched source underneath |
Why Your Photo-to-Sketch Effect Looks Wrong
Almost completely white: confirm Gaussian Blur is active on Sketch detail, try a different Radius, and check that the underlying grayscale layer is visible. A very low-contrast input may need separate preparation.
Only a blurry photograph: verify that the upper layer is inverted and its mode is Color Dodge, not Normal. Check that you blurred the intended layer.
Muddy or heavy marks: ease back the Levels adjustment and compare blur settings. Dark clothing, dense fur, and texture can dominate the effect.
Distracting background: crop unnecessary surroundings before rebuilding the working layers. This method transforms visible image detail; it does not automatically remove scenery.
Save the Editable File and Export an Image
Use File > Save As to save a PSD with layers retained. This is your working document for revisiting the blur and contrast. A flattened sharing image does not preserve that editing structure. [6]
For a separate image, choose File > Export > Export As, select PNG or JPG, and check the output dimensions before exporting. Compare the exported file with your document. Increasing its dimensions does not recover missing source detail, so inspect the result before choosing a large print size. [7]
An Online Alternative Without Photoshop
Prefer an upload-and-generate workflow? Our Photo to Sketch tool offers pencil-style interpretations without building Photoshop layers. Choose a preset, generate, inspect the result, and download.
This is a different AI process, not an online implementation of the tutorial. Fine features may change, and generation requires sign-in and account credits. Check Pricing for current allowances. For outline-focused artwork instead of shaded graphite, explore Picture to Line Drawing.
Frequently Asked Questions
Is Desaturate enough to make a pencil sketch?
No. It removes color, but the photo’s tonal appearance remains. The layered blend and blur steps build the sketch-like effect.
Can I change the effect after saving?
Yes, when you keep the layered PSD. Reopen the Gaussian Blur Smart Filter or the Levels adjustment. A flattened export cannot restore those controls.
Does this method create editable vector lines?
No. The effect is based on raster image pixels. Saving the layered PSD preserves editing controls, not individual vector pencil strokes.
Will every photo look hand-drawn?
No. This method emphasizes existing tonal differences. Lighting, texture, blur, and contrast influence the result; it does not recreate a person’s drawing decisions.
Sources and Image Credits
1. Adobe: Desaturate and Invert
2. Adobe: Smart Filters
3. Adobe: Blending modes
4. Adobe: Filter reference
5. Adobe: Levels
6. Adobe: Saving files
7. Adobe: Export As
Photos: Chelsea by Stefan van der Walt; coffee by Rachel Michetti, courtesy of Pikolo Espresso Bar. Both are listed as CC0 in scikit-image’s image documentation. Processing illustrations were prepared for this guide.
This independent guide is not affiliated with or endorsed by Adobe.