
How to Turn a Photo into a Line Drawing in Photoshop
Published September 24, 2026
On this page
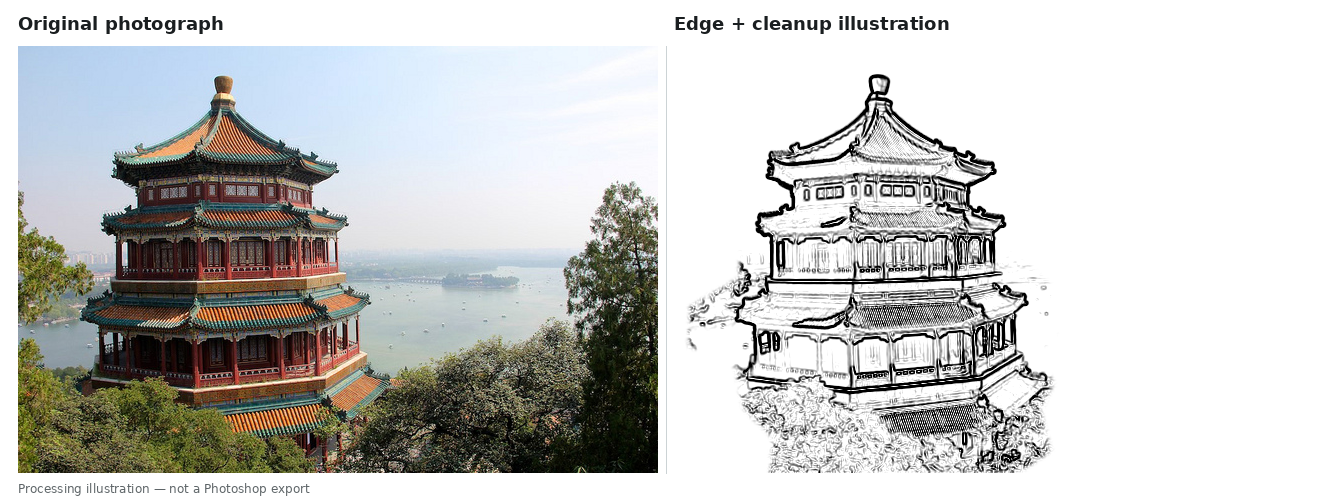
Turn a photo into a line drawing in Photoshop with Find Edges, then refine the contrast and hide unwanted background lines with a mask. This workflow builds a contour-based image rather than a shaded pencil sketch.
This reference guide covers desktop Photoshop, not Express or mobile. The steps use standard editing tools rather than generative AI, but the first filter pass is only a starting point: texture and shadows can become unwanted lines.
Before You Start
Choose a sharp photo with a recognizable subject. Simple objects are useful starting points; texture and strong shadows require more cleanup. Enlarging a blurry photo will not restore detail.
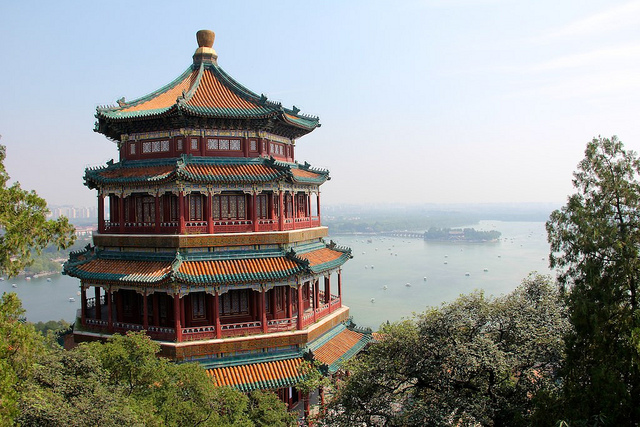
Use an image you are allowed to edit. The pavilion practice photo and camera practice photo are included with credits below. These are learning files, not print masters.
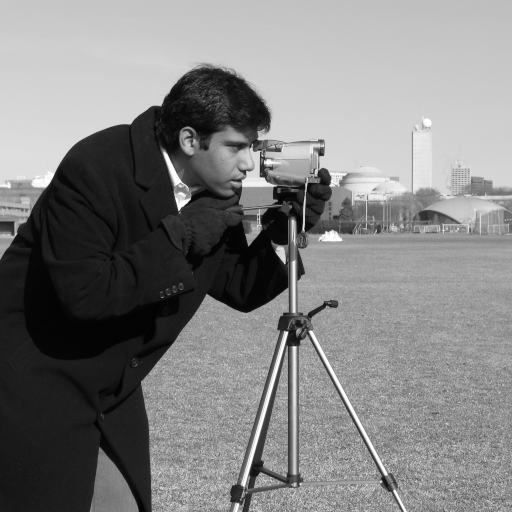
Save a working PSD. For this workflow, use Image > Mode > RGB Color and 8 Bits/Channel. The camera sample is already monochrome; it does not need additional desaturation.
Extract Photo Outlines with Find Edges
Prepare a Separate Working Layer
Open your image, duplicate the photo layer, and name the duplicate Line work. Rename the bottom layer Original, then hide it.
For a color photograph, select the duplicate and choose Image > Adjustments > Desaturate. This changes the working copy directly; it does not make every edit nondestructive. Next choose Filter > Convert for Smart Filters to keep compatible filters editable. 1 2
Reduce Texture Before Detecting Edges
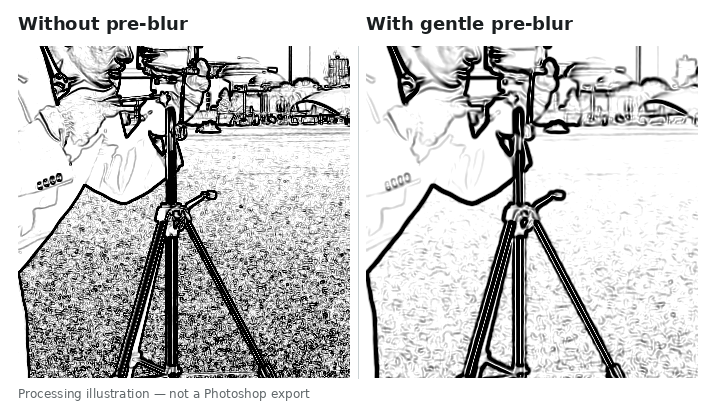
If the photograph contains distracting fine texture, apply a small amount of Filter > Blur > Gaussian Blur to Line work before extracting edges. Inspect at 100%: a little blur reduces texture, but excess removes useful borders.
There is no universal radius; dimensions and detail matter. Skip pre-blur for an already simple source. 3
Apply Find Edges
With Line work selected, choose Filter > Stylize > Find Edges. It emphasizes transitions as dark lines against a light background. Keep the layer in Normal mode. Do not invert this result; that would reverse the intended black-on-white appearance. 3
Expand the Smart Filters list. When both filters are present, Find Edges should appear above Gaussian Blur: Photoshop evaluates that list from bottom to top. Blurring afterward softens the resulting lines instead of simplifying the source first. 2
Clean Up Contrast with Levels
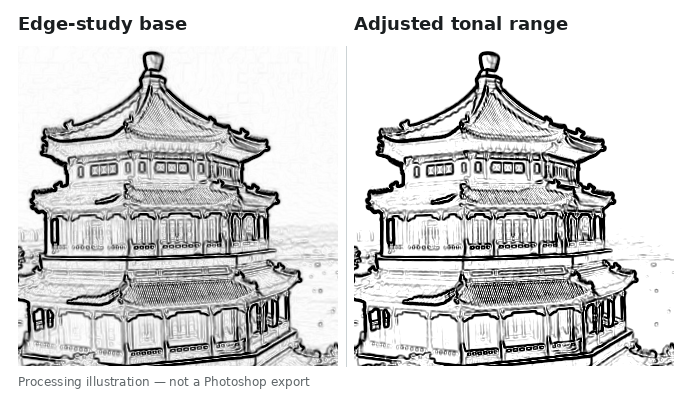
Choose Layer > New Adjustment Layer > Levels above Line work. Move the white input slider left gradually to clear faint gray areas, then move the black input slider right cautiously to strengthen important lines. Leave the output range at its default. 4
Stop before borders vanish or merge. Also check the expected viewing size.
Remove Unwanted Background Lines
Create a Solid Color fill layer set to white, below Line work. Select Line work and Levels, group them as Line drawing, and set the group's blend mode to Normal. Keep white outside and below the group. 5
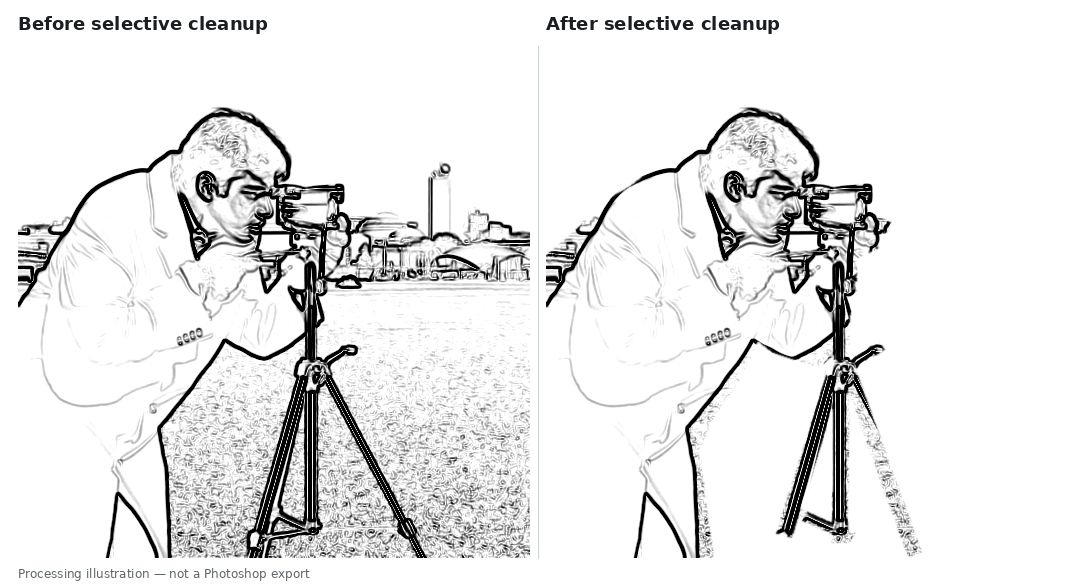
Deselect any active selection. Select the group and add a white layer mask using the Layers panel's Add layer mask button. Click that mask thumbnail and paint black over background marks you want to hide; the white fill underneath becomes visible. Paint white to restore accidentally hidden areas. 6
Use the group mask, not the Smart Filters mask. Hiding a filter can reveal the underlying photograph instead of removing the unwanted content. Protect silhouettes and thin structures. 2
Inspect shadows, reflections, foliage, and patterns; a filter cannot choose meaningful lines for you.
Choose the Finish and Check Your Layers
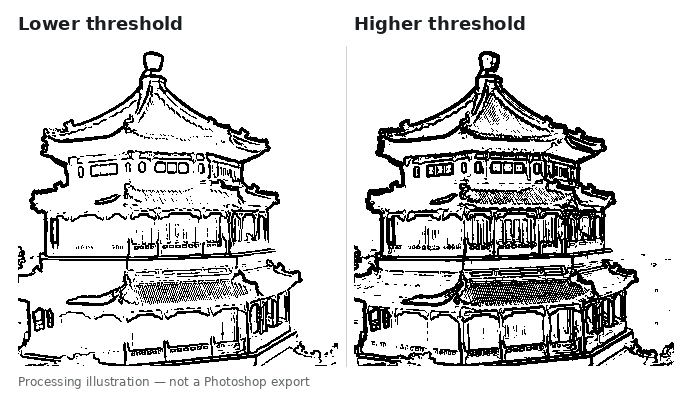
For a strictly black-and-white finish, add a Threshold adjustment layer above Levels inside the group. A higher threshold sends more pixels to black; a lower setting leaves fewer dark marks. Skip Threshold when you prefer softened line edges and subtle gray detail. 1
Layer order, top to bottom; a structural reference, not a Photoshop screenshot.
| Position | Contents and purpose |
|---|---|
| Line drawing group + mask | Groups the effect; mask hides unwanted regions |
| Inside: Threshold, optional | Converts tones to black or white |
| Inside: Levels | Controls light areas and line strength |
| Inside: Line work Smart Object | Find Edges above optional Gaussian Blur |
| White fill | Shows through hidden portions of the group |
| Original, hidden | Preserves the unedited photo for comparison |
Fix Common Line-Art Problems
The background is still noisy. Revisit pre-blur and use the group mask. Increasing contrast also strengthens clutter.
Fine lines disappear. Ease back the Levels adjustment or optional Threshold. Settings that clean a broad wall may erase a thin stem or facial feature.
The photograph appears during cleanup. Check which mask is selected, whether the Original is hidden, and whether the white fill sits below the effect group.
The result looks like a shaded sketch. Confirm that Find Edges is active and that you have not followed a Color Dodge workflow. For that different effect, use our Photoshop pencil sketch guide.
Save and Export Your Line Drawing
Save the layered PSD before exporting so the group mask and adjustments remain available. Do not flatten your only working file. 7
Use File > Export > Export As to save a PNG or JPG, then check the pixel dimensions and inspect the exported image. White pixels are not transparency; selecting PNG does not remove them. 8
For transparent artwork, actual transparent pixels must exist in the document and the export must retain transparency. This guide keeps a white background. Inspect exported lines at the intended size.
An Online Alternative Without Photoshop
Prefer uploading a picture instead of building layers? Try our Picture to Line Drawing tool. Choose a preset, generate, and review.
It uses AI, not this filter workflow, and may reinterpret features. Generation requires sign-in and account credits; see Pricing for current conditions.
Frequently Asked Questions
Is Find Edges a finished line drawing?
Not usually. It detects visual transitions, including texture and illumination. Refine contrast and clean up the first pass.
Can I keep the effect editable?
Yes, retain the PSD with its Smart Object, adjustment layers, group mask, and hidden original. A flattened export does not preserve that editing structure.
Does this create SVG paths for a cutting machine?
No. This workflow produces raster artwork. A cleaner black-and-white image is not automatically vector geometry or a verified cutting path.
Will every contour remain continuous?
No. Low contrast, fine detail, and cleanup can leave gaps. Inspect and repair important boundaries.
Sources and Image Credits
Pavilion: danielbuechele, via scikit-learn's image credits, CC BY 2.0; original photo page. Camera: photograph by Lav Varshney, CC0 via scikit-image. Processing illustrations were prepared for this guide.
This independent guide is not affiliated with or endorsed by Adobe.